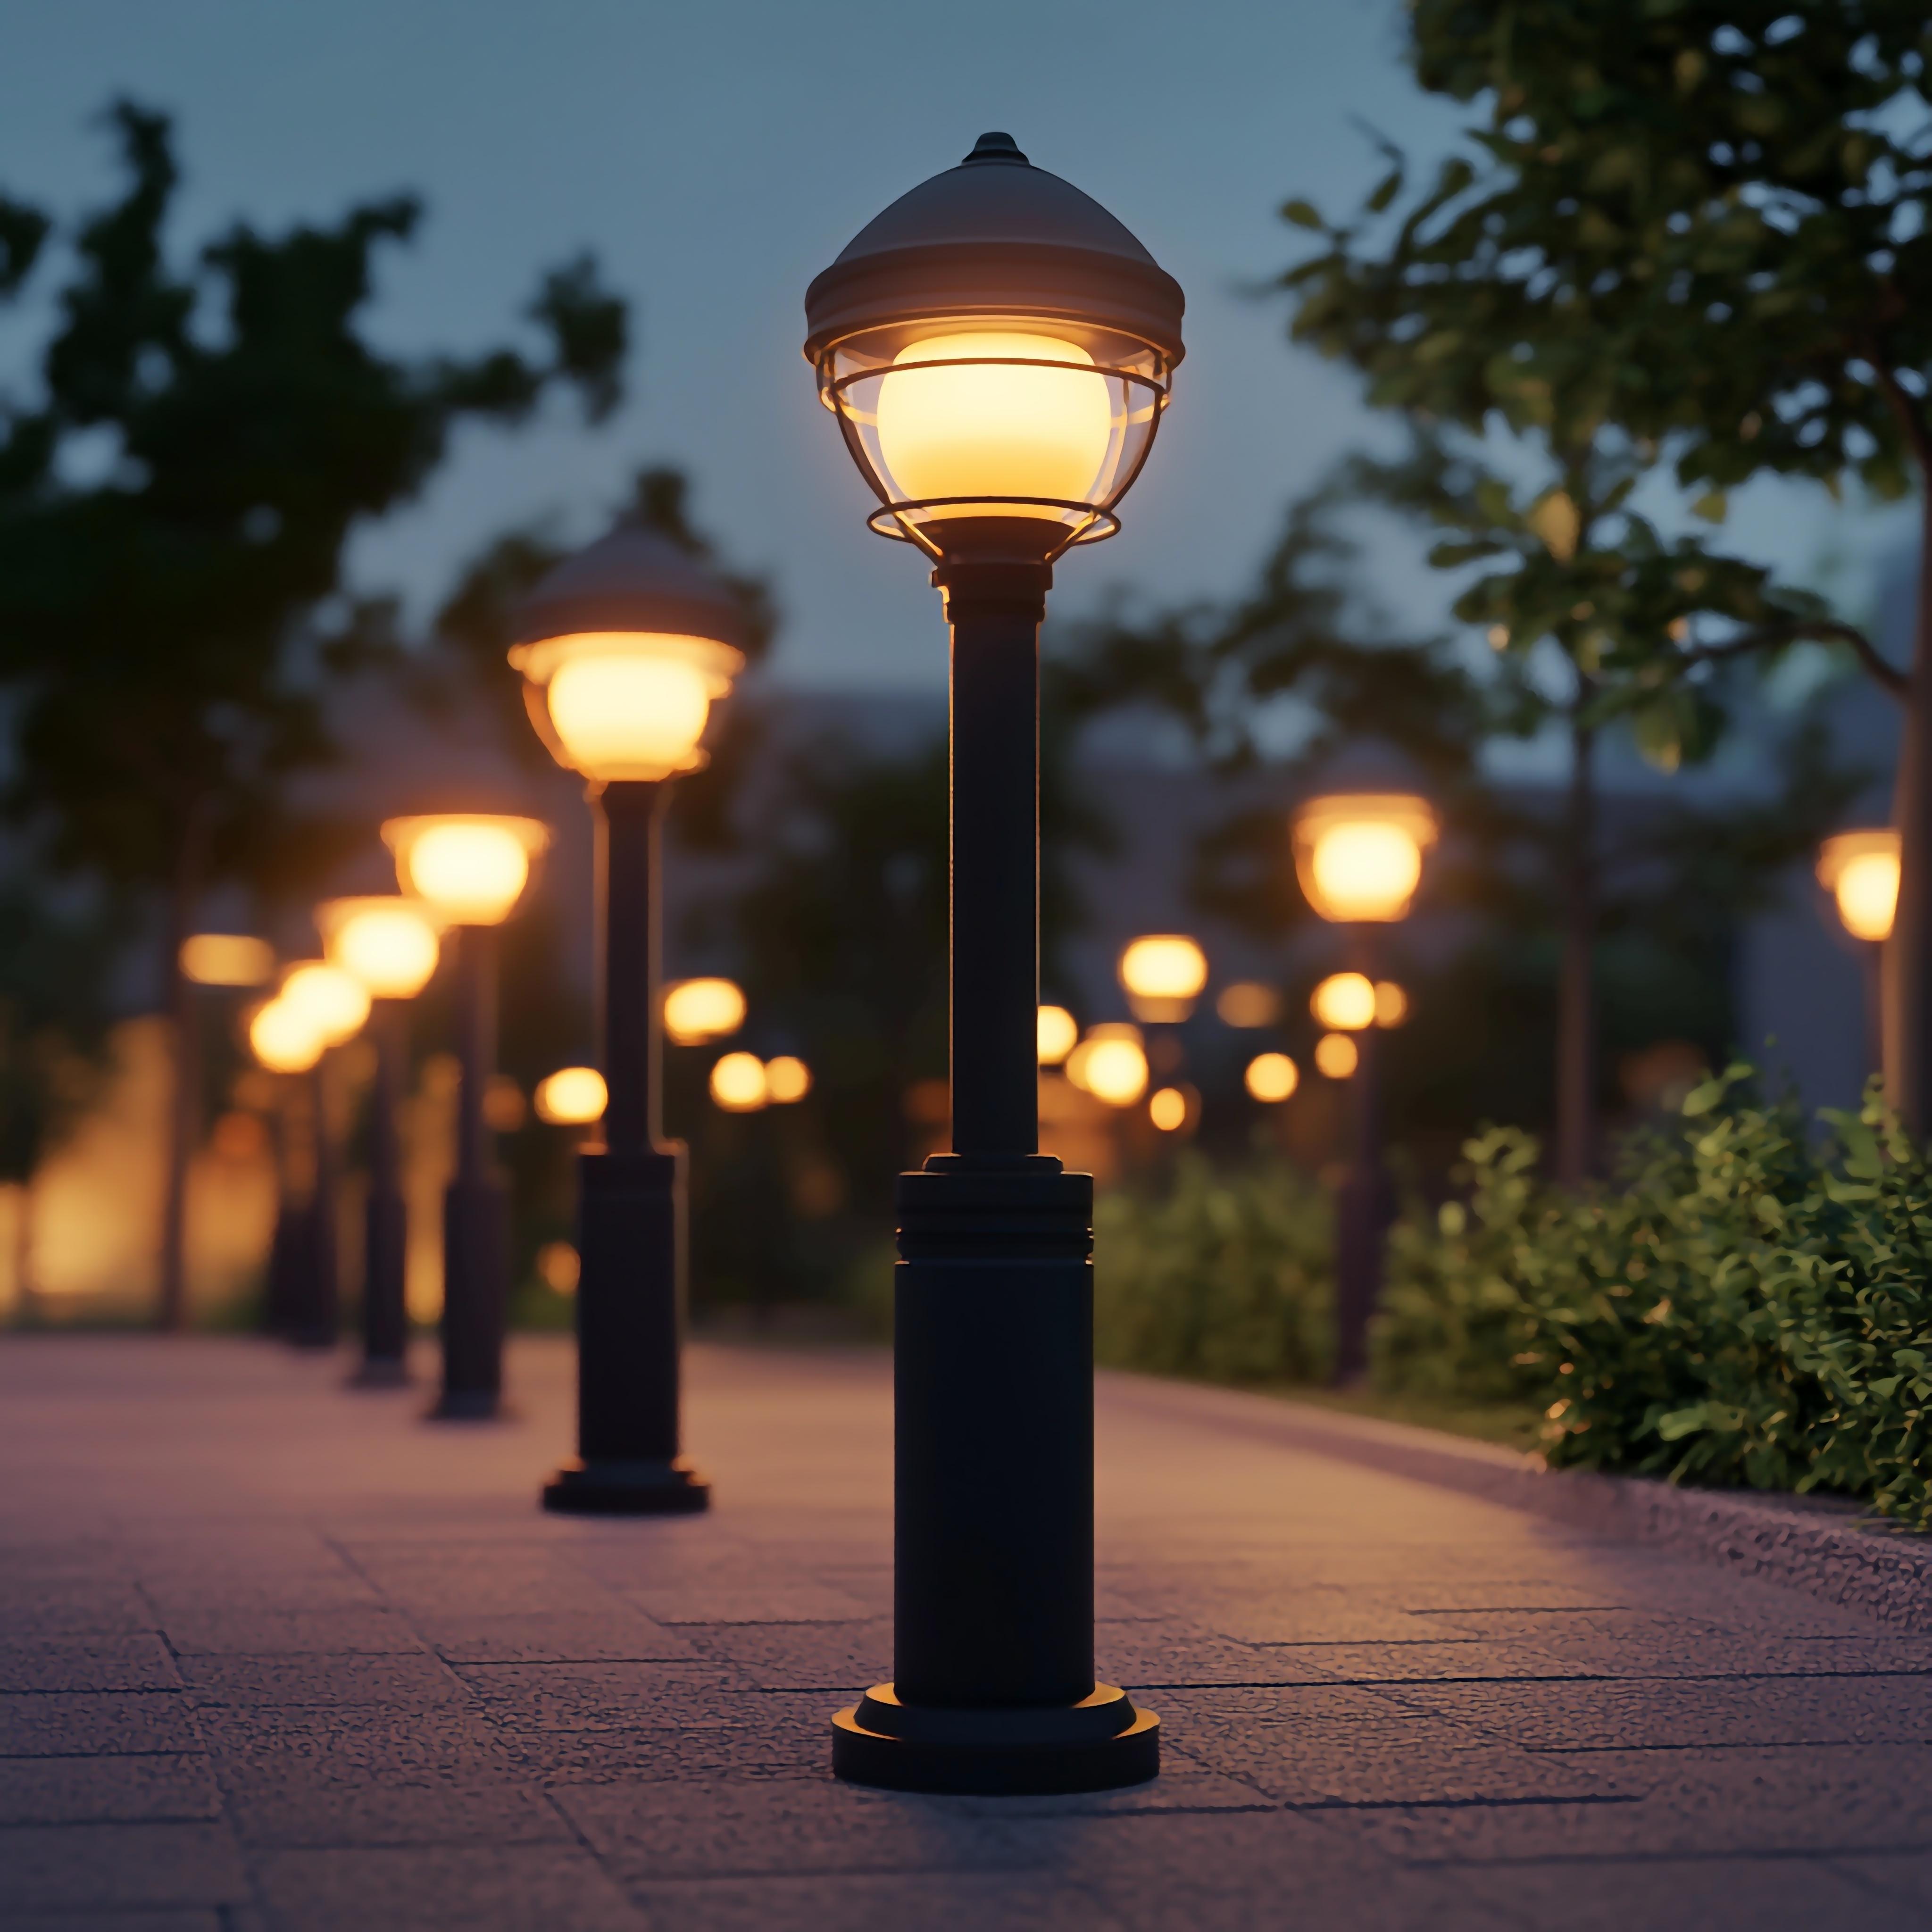
In 2026, project teams in Qatar are paying closer attention to how lighting supports a specific activity rather than selecting equipment from appearance alone. Readers comparing spot lights and residential lighting need to connect product choices with real movement, viewing conditions and maintenance. This article focuses on home interiors where artwork and crafted materials receive clear emphasis without glare, fading atmosphere or visual clutter. It is written for homeowners, interior designers, art advisers, architects and residential fit-out teams and presents a practical framework that can be used from the first brief through commissioning and handover.
Why This Application Needs Its Own Lighting Brief
Art and decorative materials respond differently to light. A framed work, sculpture, carved panel, polished stone and textured plaster each need a distinct balance of direction, beam width, brightness and viewing angle. Selecting fixtures before the art and elevations are known can create scallops, reflections, hard shadows or bright empty patches. Valuable or sensitive pieces may also need specialist advice about exposure and display conditions rather than a purely decorative decision. A useful design response therefore starts by observing the complete experience rather than copying a standard layout from another type of project.
The central principle is simple: Begin with the object, material and normal viewpoint. The lighting equipment should support the composition quietly and remain adjustable enough for future changes in the home. This approach gives the designer a clearer basis for deciding what should be bright, what should remain quiet and which surfaces or people must be visible. It also gives procurement teams better questions to ask, because every feature can be connected to a stated project need.
Five Planning Priorities for a Stronger Result
Match beam size to the subject
A narrow object, broad painting and full-height material panel require different coverage. Incorrect beam width either leaves edges weak or wastes light beyond the subject. Interchangeable optics, zoomable distributions and carefully selected fixed beams provide useful choices. The illuminated area feels intentional and proportional to the feature. The choice should be judged by the effect it creates in the real geometry, not by wattage, appearance or a single isolated specification.
During design and approval, mock up at the actual distance and mark the subject outline before deciding the beam and aiming point. This is particularly relevant to art walls, display niches and double-height living spaces. Review the condition from the positions people will actually occupy and include nearby materials, signs, furniture, planting or vehicles that could change the result. When a setting is approved, record the exact mounting, optical choice, accessory and control state so the site team has more than a general visual reference.
Control reflections from the viewing position
Glass, polished paint, metal and stone can reflect a bright image of the source. A fitting may appear comfortable from the ladder yet create a distracting highlight from the sofa. Offset mounting, shielding and alternative aiming angles can move the reflection away from common sightlines. The viewer sees the work and material rather than the equipment. The choice should be judged by the effect it creates in the real geometry, not by wattage, appearance or a single isolated specification.
During design and approval, test from seated, standing and approaching positions with the final glazing and finish installed. This is particularly relevant to framed works, polished joinery and stone feature walls. Review the condition from the positions people will actually occupy and include nearby materials, signs, furniture, planting or vehicles that could change the result. When a setting is approved, record the exact mounting, optical choice, accessory and control state so the site team has more than a general visual reference.
Use shadow to reveal texture
Grazing light can show relief and craftsmanship, but it can also exaggerate joints and surface variation. Distance and angle determine whether texture looks rich, flat or unintentionally uneven. Adjustable directional fixtures and concealed linear details allow controlled modelling. The surface gains depth while construction tolerances remain visually acceptable. The choice should be judged by the effect it creates in the real geometry, not by wattage, appearance or a single isolated specification. It also explains why spot lights and residential lighting should be reviewed as connected parts of the same project decision.
During design and approval, approve a representative material panel and include the final joint, corner and edge detail in the trial. This is particularly relevant to carved screens, textured plaster, timber slats and masonry. Review the condition from the positions people will actually occupy and include nearby materials, signs, furniture, planting or vehicles that could change the result. When a setting is approved, record the exact mounting, optical choice, accessory and control state so the site team has more than a general visual reference.
Keep adjustment precise and stable
Home collections and furniture layouts change, so some aiming flexibility is valuable. Loose movement or broad uncontrolled rotation can cause beams to drift into eyes and ceilings. Lockable aiming, clear angle references and accessible mounting positions support repeatable adjustment. The scheme can evolve without losing its original visual discipline. The choice should be judged by the effect it creates in the real geometry, not by wattage, appearance or a single isolated specification.
During design and approval, record final angles and keep a simple aiming photograph for each important feature. This is particularly relevant to private galleries, family rooms and flexible display corridors. Review the condition from the positions people will actually occupy and include nearby materials, signs, furniture, planting or vehicles that could change the result. When a setting is approved, record the exact mounting, optical choice, accessory and control state so the site team has more than a general visual reference.
Coordinate color with the real materials
Warm timber, neutral plaster, colorful art and food-display surfaces do not respond identically. A color choice made from a catalogue may feel different beside the final finishes. Consistent high-quality light sources and selectable color options allow informed comparison. Materials look believable across adjacent rooms and layers. The choice should be judged by the effect it creates in the real geometry, not by wattage, appearance or a single isolated specification.
During design and approval, view samples beside the actual art or approved material in daytime and evening scenes before ordering. This is particularly relevant to living rooms, dining rooms, majlis spaces and entrance galleries. Review the condition from the positions people will actually occupy and include nearby materials, signs, furniture, planting or vehicles that could change the result. When a setting is approved, record the exact mounting, optical choice, accessory and control state so the site team has more than a general visual reference.
Create a Brief That Contractors and Operators Can Use
Create an elevation-based schedule that names the subject of every adjustable point. Include subject dimensions, mounting distance, intended beam, normal viewing position and any expected future change. This is more useful on site than a ceiling symbol with no stated purpose. State the purpose of each lighting layer in a short sentence and connect it to a drawing or elevation. This makes later technical choices easier to compare and helps different disciplines understand why a position, beam or control group cannot be changed casually.
The brief should also define operating hours, likely scene changes, environmental exposure, access limits and the consequence of failure. List the information required with a quotation, including the offered configuration, distribution, driver, control method, mounting parts, protective accessories and warranty route. A complete request reduces hidden exclusions and makes value easier to judge across the installed package.
Review Products in Real Conditions
A reliable comparison of spot lights and residential lighting uses one application-based checklist for every option. Review useful distribution, source visibility, color appearance, protection, mounting, controls, accessories and service access. An alternative should demonstrate the same complete outcome; a similar housing, nominal output or headline efficiency figure is not enough when optics, drivers and installation details differ.
A good mock-up uses one representative artwork or material panel at full scale. Photograph several beam options from the normal viewpoint, but judge the result in person as well. For high-value or light-sensitive works, involve a qualified conservation adviser in decisions about exposure and operating time. Examine the product both switched on and off. Check physical scale, finish, cable entry, adjustment, heat path, connection and the route for replacing a driver or other serviceable component. The approved sample should be documented carefully enough to serve as an installation standard rather than remaining an informal memory.
Coordinate Installation, Commissioning and Handover
Before first fix, coordinate architectural, electrical, structural, landscape and life-safety information as relevant to the application. A changed recess, bracket, wall build-up, control address or cable route can alter performance even when the visible fitting remains the same. Hold a short coordination review while corrections are still inexpensive and record all accepted deviations.
Aim the installation after artwork, rugs, furniture and decorative objects are in place. Label or map important adjustable points, save scene settings and explain how to make minor changes without directing a bright source into common seating or circulation views. Commissioning should include aiming, dimming, sensor response, schedules and failure behavior where applicable. Photograph final settings and verify them from normal user positions. Good records reduce downtime, protect the visual hierarchy and help future replacements remain consistent with the approved result.
Common Mistakes to Avoid
Typical mistakes include aiming at the center without checking coverage, using identical beams for differently sized works, creating a reflected source in glass and allowing the ceiling equipment to dominate the room. Another error is commissioning before the final objects are installed. These problems are usually less expensive to prevent during a mock-up or coordination review than to correct after finishes, furnishings and operating routines are established.
Another common mistake is comparing products without confirming what the quotation includes. Drivers, brackets, tracks, connectors, shields, control components, supports and commissioning can materially change the delivered cost and program. The schedule should identify complete assemblies, while the change process should require every proposed substitute to be checked against the same application and maintenance criteria.
A Final Coordination Check
Bring together homeowners, interior designers, art advisers, architects and residential fit-out teams before procurement and review the latest drawings, approved sample, quotation, controls and access plan side by side. Confirm the objective of home interiors where artwork and crafted materials receive clear emphasis without glare, fading atmosphere or visual clutter, then check quantities, finishes, mounting parts, connection details, delivery sequence and commissioning responsibilities. Record each accepted change and issue one final schedule. This prevents separate teams from working from different assumptions and gives the installer and operator a shared reference.
Final Thoughts
When reviewing spot lights and residential lighting, begin with the people, activity and physical conditions that define the task. Successful feature illumination feels effortless because every beam has a subject, a viewpoint and a reason. Careful testing allows art and materials to become the focus while the equipment remains visually quiet. The most useful specification explains the intended effect, how it will be controlled and how it can be maintained after handover.
Before releasing an order, the project team should be able to explain what every fitting illuminates, why its distribution and mounting are suitable and which evidence supports approval. That clarity strengthens design quality, reduces avoidable changes and gives operators a system they can understand. It is the difference between purchasing individual products and delivering a coherent night-time environment.

 English
 Arabic
 Spanish
 Portuguese
 Deutsch
 Turkish
 Dutch
Dutch
 Italiano
 Russian
 Romaian
 Portuguese (Brazil)
 Greek
Greek